Sitecore Personalize is Sitecore's next-generation Personalization engine that is intended to be used across any digital channel (i.e. web, mobile app, desktop applications, kiosks, etc.).
Sitecore's official documentation is a great starting point for developers to get started, but there's more to learn. If you're a developer looking to build your first Personalize Experience (personalization) or Experiment (A/B test), the following guide is for you.
Building a Simple Survey Invitation
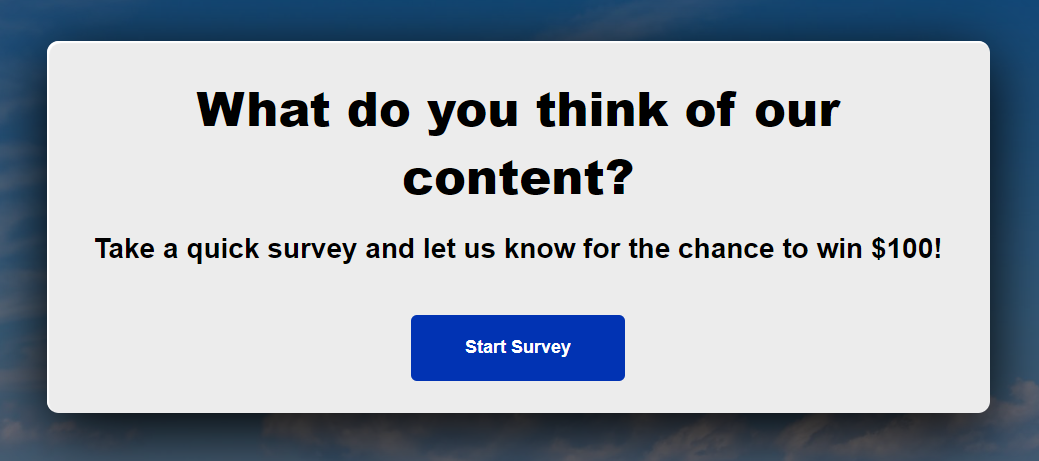
Our objective is simple: use Sitecore Personalize to build a survey invitation pop-up. It should look something like this:
The requirements:
- implement a custom pop-up that marketers can create & configure
- show the pop-up after X-number of site pages have been browsed by the current website guest ('X' is configurable by marketers)
- allow marketers to configure where on a website the pop-up appears
Prerequisites
The website that you want to use Personalize with must have an active and valid Boxever/Personalize JavaScript tag set up.
Step 1: Create Experience Web Template
A Web Template should provide marketers/business users a re-usable starting point for creating an Experience or Experiment. We will use Configurable Params to provide variables that users can fill in and define content/settings/etc. in our template.
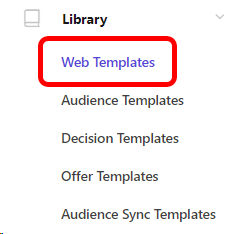
- Navigate: Main Menu >> Library >> Web Templates
Click Create Template and name it. I used "Survey Invitation Pop-Up" for my example.
Use the HTML, CSS, and JavaScript tab to create the markup, styles, and client-side functionality of the Experience. My sample code is provided below:
HTML
<div class="demo-survey-overlay">
    <div class="demo-survey">
        <h1>[[ Title | string  ]]</h1>
        <h2>[[ Subtitle | string ]]</h2>

        <a href="[[ Survey URL | string | https:// ]]" class="button">Start Survey</a>
    </div>
</div>
CSS
.demo-survey-overlay { width: 100%; height: 100%; background-color: rgba(0, 0, 0, 0.5); text-align: center; position: absolute; top: 0; left: 0; z-index: 10000; }

.demo-survey { margin: 0 auto; width: 50%; padding: 2em; background-color: rgb(236, 236, 236); border-radius: 12px; position: relative; top: 15%; box-shadow: 0 16px 64px #000, inset 2px 2px 1px #FFF; }
.demo-survey h1 { margin: 0 0 0.5em 0; font-size: 40px; font-family: 'Arial Black', serif; text-align: center; }
.demo-survey h2 { margin: 0 0 0.5em 0; font-size: 28px; font-family: 'Arial', serif; text-align: center; }
.demo-survey .button { display: inline-block; margin: 2em auto 0 auto; padding: 1.25em 3em 1.25em 3em; border-radius: 6px; font-size: 18px; font-weight: bold; background-color: #0133B3; text-decoration: none; color: #FFF; text-align: center; }
.demo-survey .button:hover { background-color: #2c5cd6; }
JavaScript
let placement = '[[Placement | enum(before,after) | after | {  group: HTML, order: 4 } ]]';
let tag = '[[Tag | string | body | { group: HTML , required: true, order: 2 } ]]';

// Place experience on page
if (placement == 'before') {
    insertHTMLBefore(tag);
}
else if(placement == 'after') {
    insertHTMLAfter(tag);
}
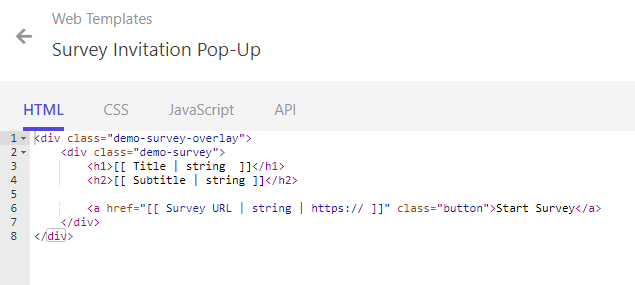
For example, the HTML tab should look like this now:
Notice the use of the double-bracket syntax ([[ ]]) in each code snippet. Those are Configurable Params that automatically provide input fields for users of the template to add content, etc. (Sitecore documentation is available here).
The API tab should be left blank for now.
In the Settings tab (right side of screen), you can add a description of this template and choose an icon image. Also check the "Render a Preview on the Experience" to improve the authoring experience in the next step.
Finally, toggle the Published switch on the top-right of the page to make this template available for selection:
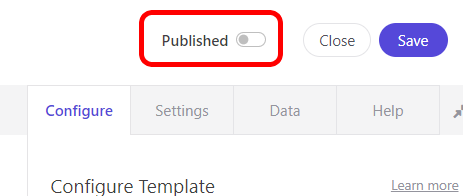 .
.Step 2: Create New Experience
With the Web Template created, we will now create the Web Experience itself.
Navigate: Main Menu >> Experiences >> Web
Click Create Experience and name the new Experience. I used "Survey Invitation" for example.
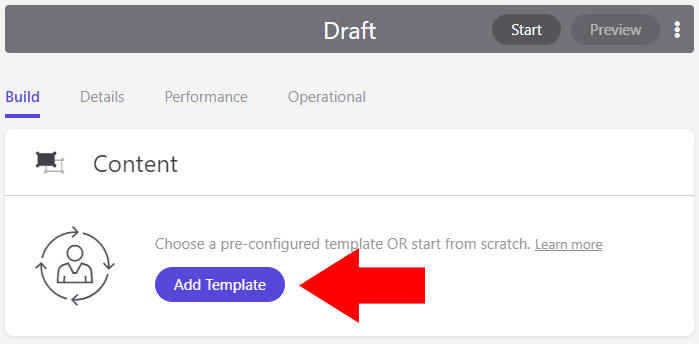
Under the Content section, click Add Template:
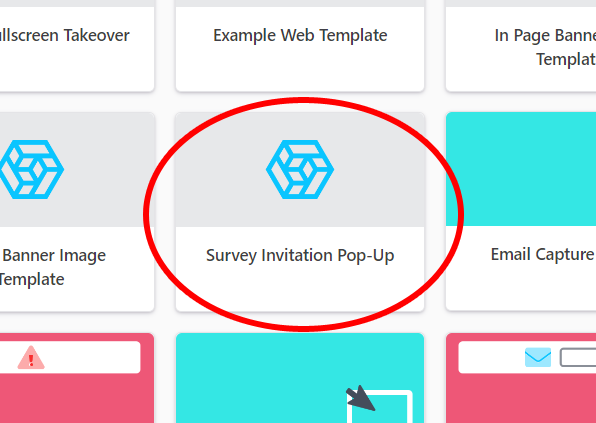
- Choose the "Survey Invitation Pop-Up" template:
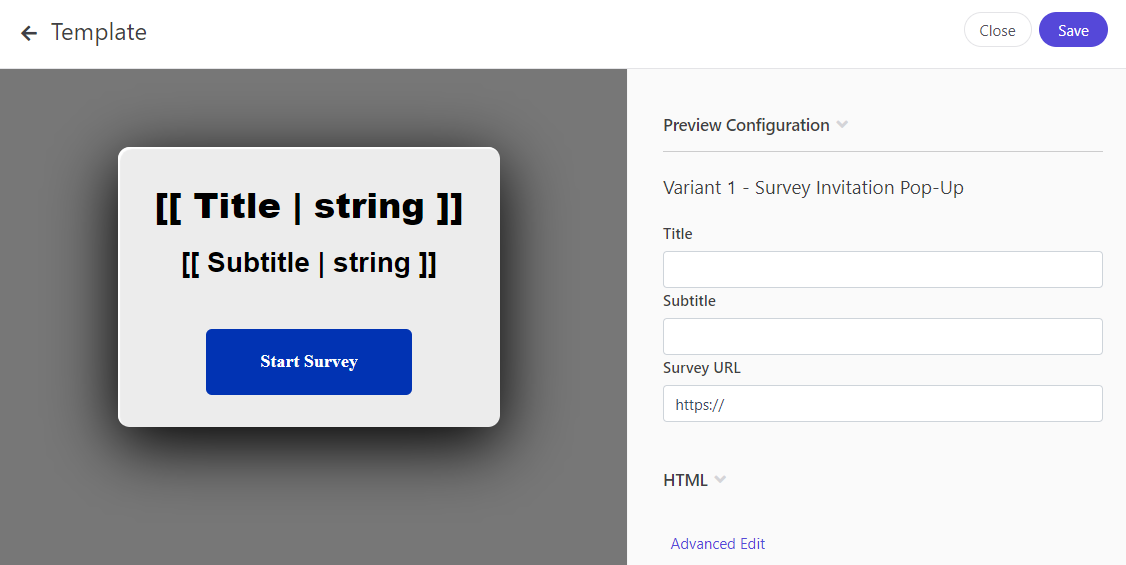
- The authoring interface should open with a preview of the Experience. You can fill out content fields on the right, then click Save:
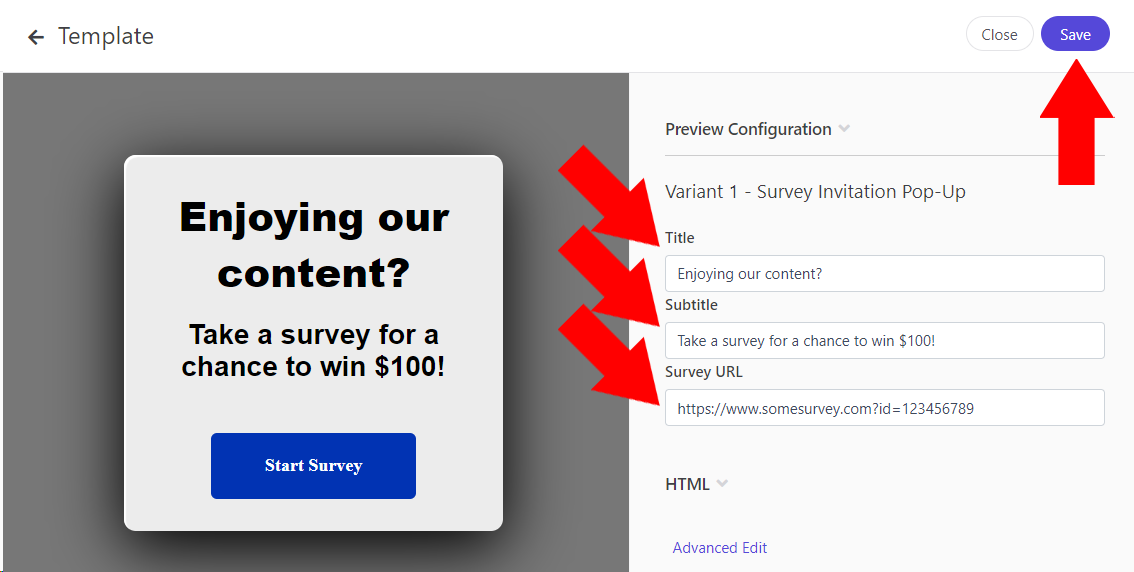
Filled out:
Step 3: Choose Page Targets
Under the Page Targeting section of the Experience configuration, click the Add button.
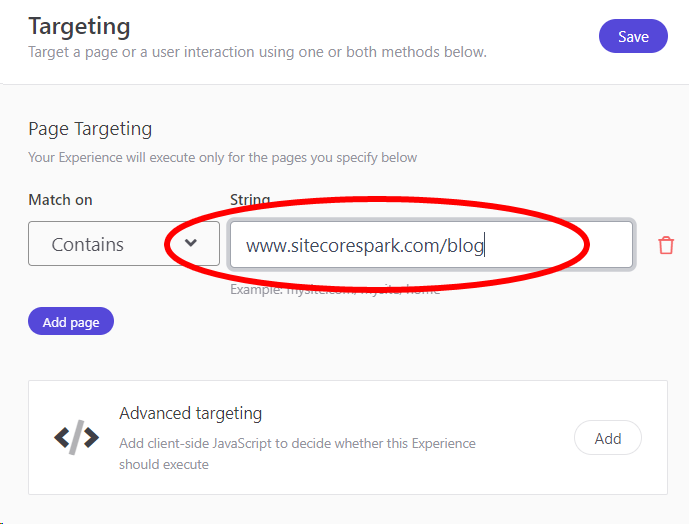
Page Targeting determines on what pages the Experience runs. You can add as many URLs as you want, and they can be broad (like a whole site) or specific (a single page). A few examples:
sitecorespark.com(full site)sitecorespark.com/blog(subsection of a site)https://www.sitecorespark.com/blog/2022/1/2022-year-in-review(a specific page)
For our example, I'm using sitecorespark.com/blog. You can target whatever site/pages you want for demonstration purposes.
WARNING: if you don't set page targets, this Experience will run on all websites with an active Boxever script tag tied to your tenant.
Step 4: Set Audience (Real-Time)
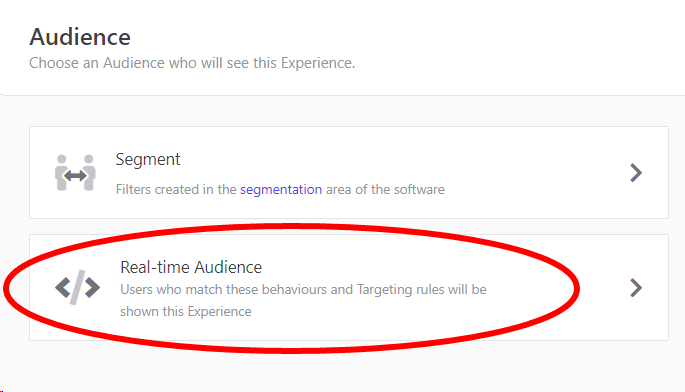
Audiences determine which portion of your website visitors see this Experience or Experiment. You can use one of two audiences:
- Segments that are generated daily from criteria defined in the Batch Segments section of the CDP
- Real-Time Audiences that are determined by code during the execution of an Experience/Experiment
Our requirements state that we must "show the pop-up after X-number of pages have been browsed by the current website guest ('X' is configurable by marketers)."
We can use a real-time audience for this. Real-time audiences can be defined two ways:
- a re-usable Audience Template under the Library section of Personalize
- a custom, single-use Real-Time Audience script
For our example, we will create a custom real-time audience and set a Configurable param that lets marketers choose how many pages a Guest visits before the survey appears.
Click Add under the Audience section. On the bottom of the pull-out panel, find "Can't find one? Add Custom Code" and click that link:
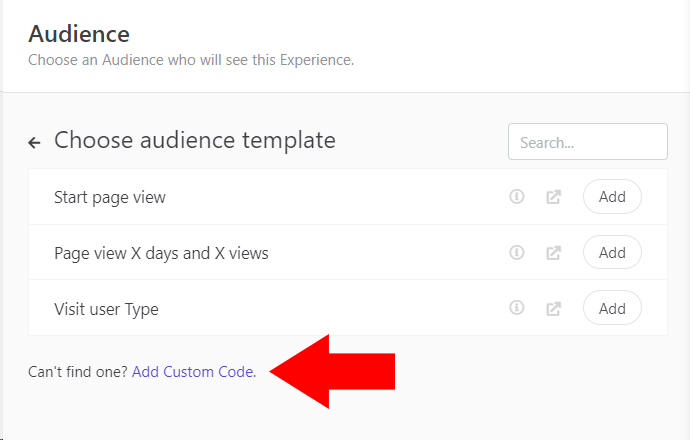
From the next window, select Real-Time Audience. The JavaScript editing UI will open. Add the following code to create a real-time audience filter:
(function () {

    var userPageViews = getNumberofViews();
    var inputPageViews = "[[ Page Views | number ]]";

    if (userPageViews >= inputPageViews) {
        return {}; // Return any truthy value to pass the audience filter; Personalize recommends an empty object for this
    }

    return false; // Audience filter did not pass
    })();

    function getNumberofViews() {
        var numberOfEvents = 0;

        // For each Session on this Guest...
        for (var k = 0; k < guest.sessions.length; k++) {

            let session = guest.sessions[k];

            // For each Event in this Session...
            for (var i = 0; i < session.events.length; i++) {

                var event = session.events[i];

                if (event.type === "VIEW") {
                    numberOfEvents++;
                }
            }
        }

        return numberOfEvents;
    }
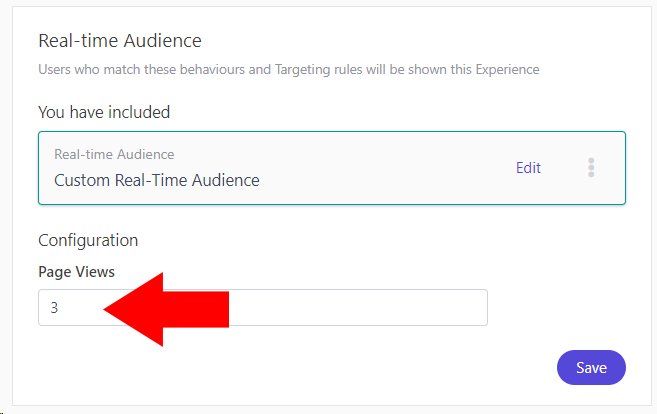
The [[ Page Views | number ]] Configurable param allows marketers to choose how many pages must be viewed by a user before this Experience executes. After saving and closing the script, you can set the Page Views variable (in this example, I'm using three pages):
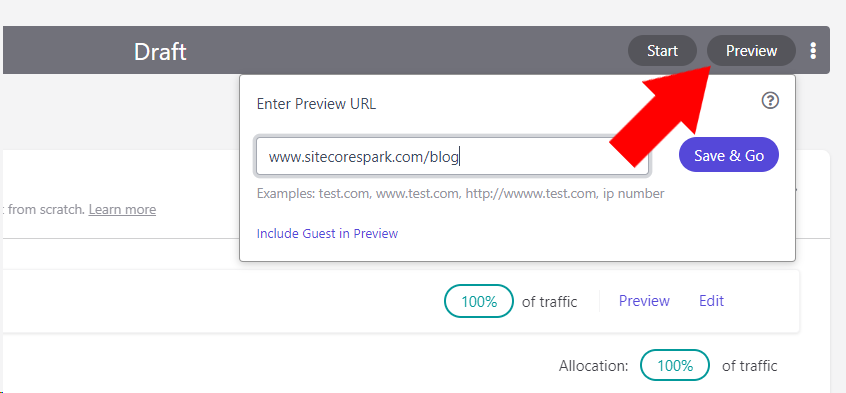
Step 5: Preview, Test, and Start
Note: As stated in the Prerequisites section above, you will need an active Boxever/Personalize script tag running on your website for this step to work.
At this point, we have everything needed to execute this Experience. We can test the Experience by clicking the Preview button at the top-right corner of the configuration page and entering a URL to our website and targetted pages:
You can now browse the site with a fresh session. If the Boxever/Personalize activation script is installed properly, the Personalize QA Tool should appear on the left-side of screen as a small vertical button. Clicking it brings up the full QA panel that lets you see the execution flow of the Experience. If any step or criteria for the Experience did not pass, this is where you'll be told about it.
In this case, we can browse the site until we visit 3 pages, then see our Experience:
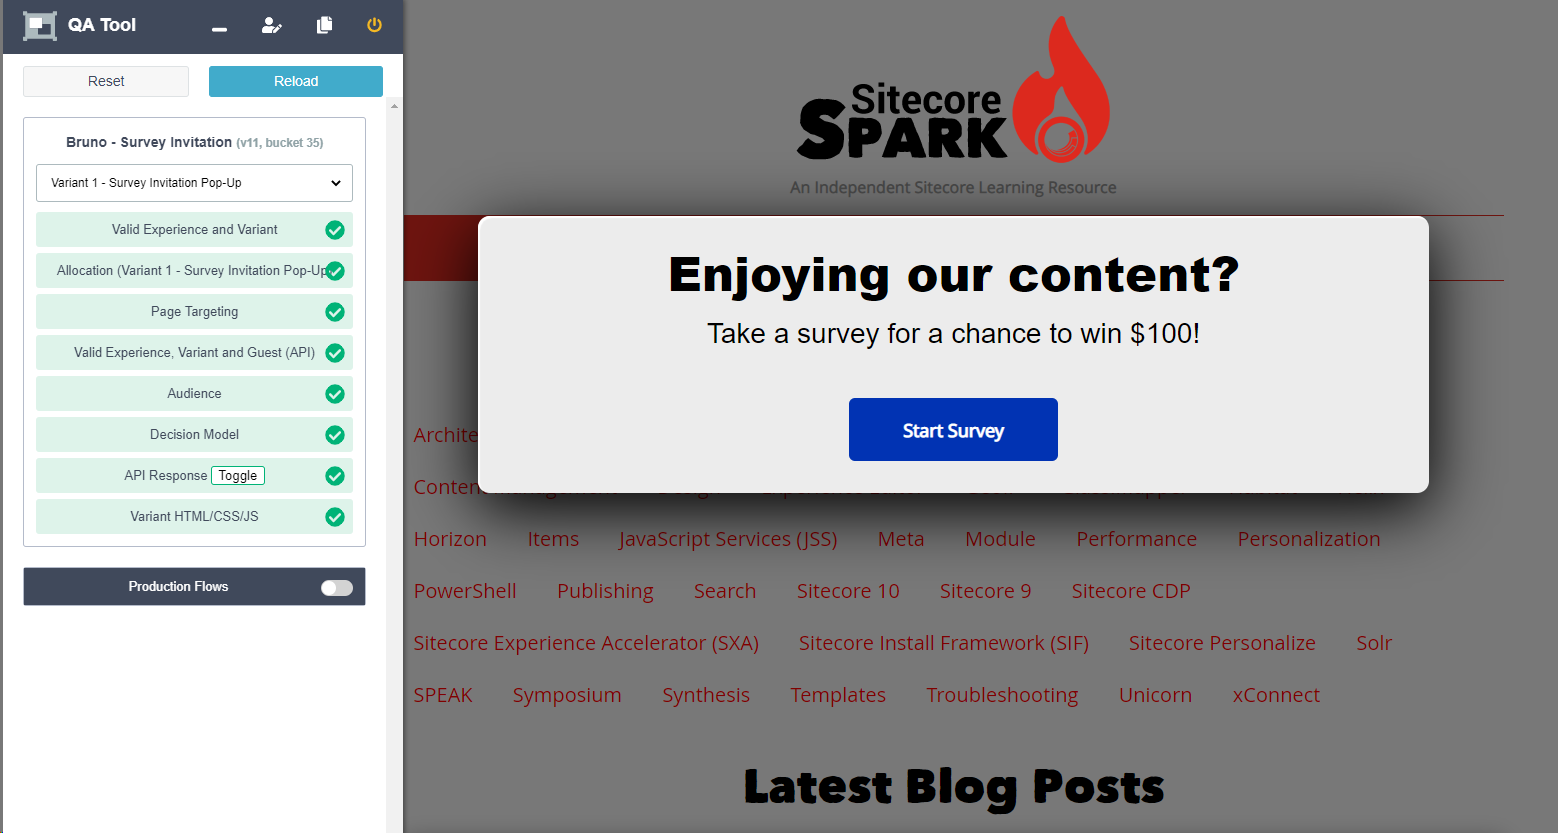
Success! You can Start the Web Experience on the configuration screen and visit your site to see the Web Experience.
What's Next
In a future iteration of this exercise, we will add a Decision Model and external data systems to provide more flexibility to our marketers in how they configure the Experience and determine when and how it gets executed.